So you purchased a new SLP planner and it’s finally ready to roll. You have your favorite pens, sticky notes, and whatever else you love using to plan. Like a fresh pot of coffee on a Sunday morning, everything is screaming shiny new start… so now, what?

I don’t know about you, but I often have all the best intentions of using my planner to the fullest, staying organized, and tackling all the crazy twists the school year brings. Unfortunately, life often gets in the way and I don’t do the things I set out to do.
Friend, I ain’t gonna lie. It’s not easy working in the schools. But, having a game plan (even if you aren’t perfect at it) can make a HUGE difference.
Here are 12 tips for getting the most out of your SLP planner. Let’s get ourselves organized and ready for whatever our jobs swing at us next.
1. Keep your planner visible
Let me tell you this from experience. If you keep your planner in your backpack, it’ll stay in your backpack. Keep it out on your desk and opened to the correct date. You’re more likely to look at it and use it if it’s in plain view!
2. Plan to plan
There’s something to be said about setting aside time to plan. If you want to get the most out of your planner, schedule yourself time to use it. I recommend taking some time at the beginning of the year, weekly, and even a few minutes daily to update it.
3. Color-code with highlighters
Using highlighters to color-code tasks in different categories will make it super easy to glance and go. And highlighters are faster than constantly having to change pen colors.
4. It’s ok to use multiple planners
No one says you have to make one planner work for your whole life. It’s ok to combine digital and printable, two different printables, have a work planner and home planner, or whatever works best for you. I personally use Google calendar, Google sheets, and a printable SLP planner.
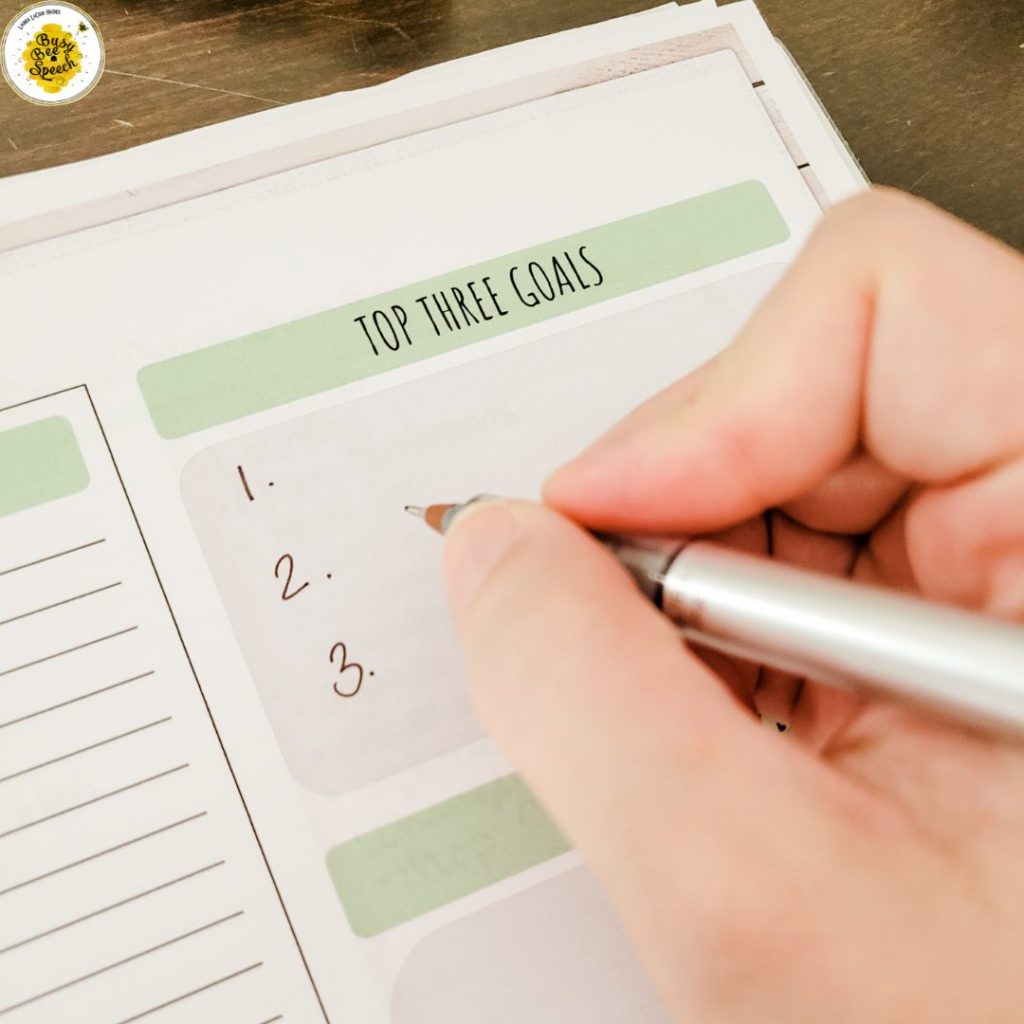
5. Utilize a top 3
Have you heard of having a daily top 3? It’s all about prioritizing your tasks. Take the 3 most important things that you need to get done each day, put them at the top of the list, and make sure you can cross them off. If all else fails, at least you got 3 things done, right?
6. Transfer unfinished tasks (or break them into chunks)
If something doesn’t get done, just put it on the next day’s list or schedule. However, if a task is constantly moving it might mean that you – A) don’t want to do it, B) it’s not important enough to do right away, or C) it’s not attainable to do in one day. Sometimes it helps to break it into smaller chunks. Small progress is better than no progress.
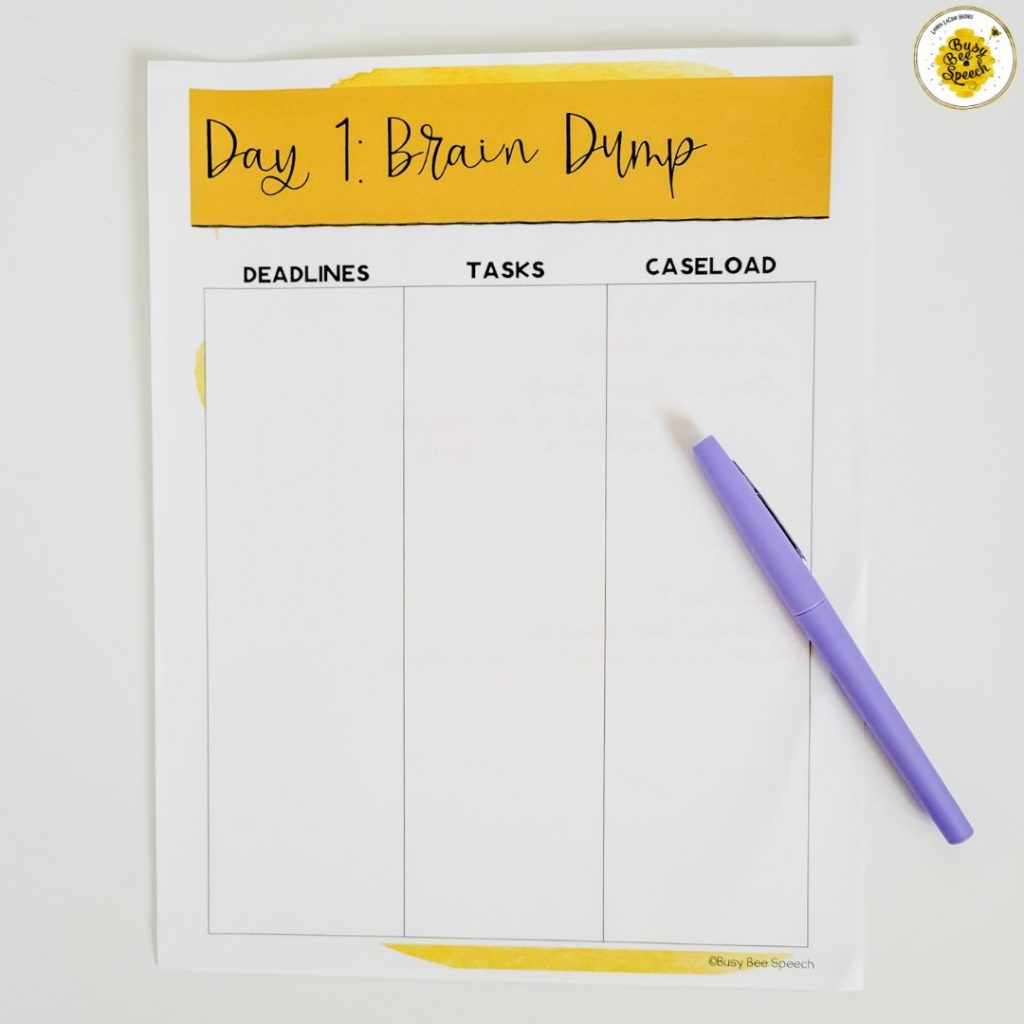
7. Blank pages are for brain dumps
Most planners come with several blank pages or dot pages. These are perfect for brain dumps! If you ever don’t know where to start, it often helps to just get everything out of your head and onto paper. I like categorizing my brain dumps when possible (i.e. work, home, events, etc.)
8. Use stickers to save time writing
Utilizing functional stickers for tasks that are recurring can help save time. For example, if Medicaid is due a certain day each month, put a colored sticker on the day. There are lots of cute options for stickers out there, whether it’s to buy or make yourself at home.
9. Use washi tape for tabs
If you create your own printable SLP planner, washi tape is your friend. You can use it as tabs by folding it over the edge of a page. It’s also great to mark a task or activity across multiple days on your calendar.
10. Only use the pages you need
You always want to personalize your SLP planner and make it work for you! If there are pages that you don’t need, no one says you have to keep them in your planner. Rip out/delete those pages or don’t print what you don’t need. It’ll save paper and keep your planner functional.
11. Discbound planners are great for quickly adding and removing pages
It’s no secret that I LOVE discbound notebooks and create all my planners with them. See how I do it in the video on this post. If your caseload is constantly changing, you’re tweaking your schedule or adding things in a lot, then a discbound option will be your best friend.
12. Create a planning system that works for YOU
If you take anything away from this post, I hope you take away the importance of creating a planning system that is specific to your needs and works for you. No one else has the exact same requirements, responsibilities, strengths, and weaknesses as you do.
Ultimately, you have to be the one to organize yourself and figure out how to make your planning work. If you need a little kickstart in that department, you should definitely take the Paperwork Boss Email Challenge! It’s a simple 5 step process that will get you started in creating your perfect system that’s catered to your needs.
Hit the button below for that organizing boost!


Leave a Reply